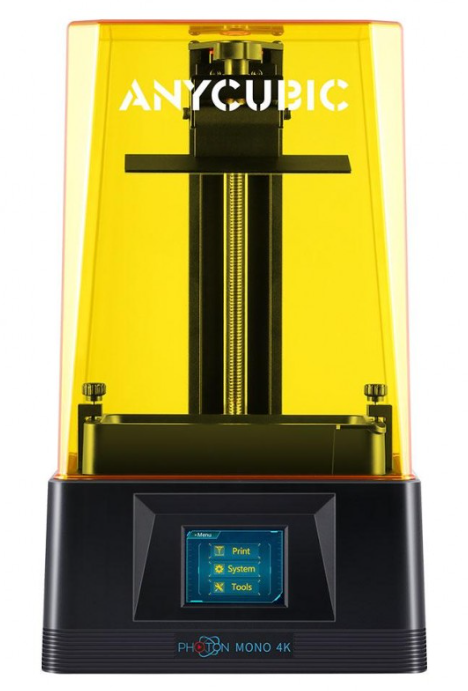
We have been printing table top miniatures for Dungeons & Dragons for over a year now. We started on a Creality Ender 3 which prints everything great. Then we saw what resin printers could do and had to have one. We picked up a Anycubic Photon resin printer and the detail has blown us away.
Within the community there are a couple go to resin printers. We already mentioned the Anycubic Photon which comes in a variety of models. We still use the base model Anycubic Photon and have had little trouble out side of the base plate coming loose and going crooked twice. However even with that there are mods you can print to improve it.
How To Keep Your Print Bed Level
Plate Balancer which will prevent the base plate from moving.
How To Vent Your Anycubic Photon Resin Printer
Exhaust Vent Adapter this is a must if you want to use your room you have the printer in. Resin is toxic and you dont want to breath it in so you will want to vent it out or filter it. If your able to vent it out its far cheaper than the filter addon we used.
We used this adapter along with some 4″ ducting and a inline duct ventilation fan and heavy duty filter. This is the original inline fan recommended but is out of stock sometimes so we picked up the other one that is very quiet and has an adjustable flow. It worked great.
We printed the Exhaust adapter on our Ender 3 FDM printer so there was no real cost to that. If you do not have that option though you can do it on your resin printer just as easy!
Resin Printed Dungeons & Dragons Miniatures
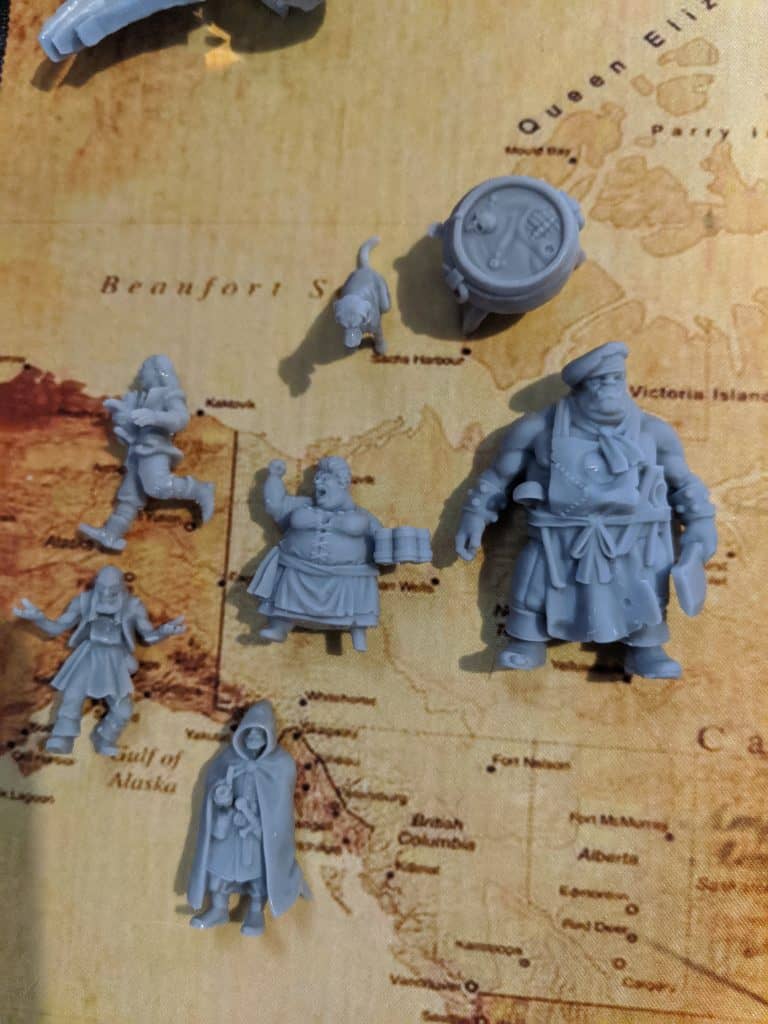
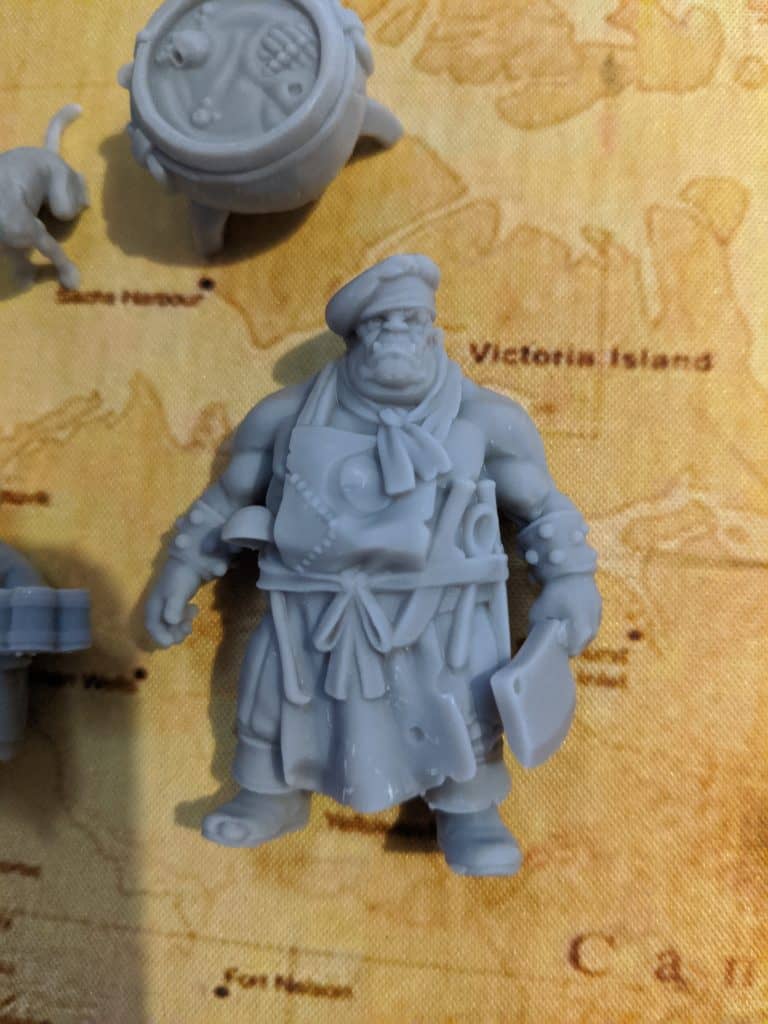
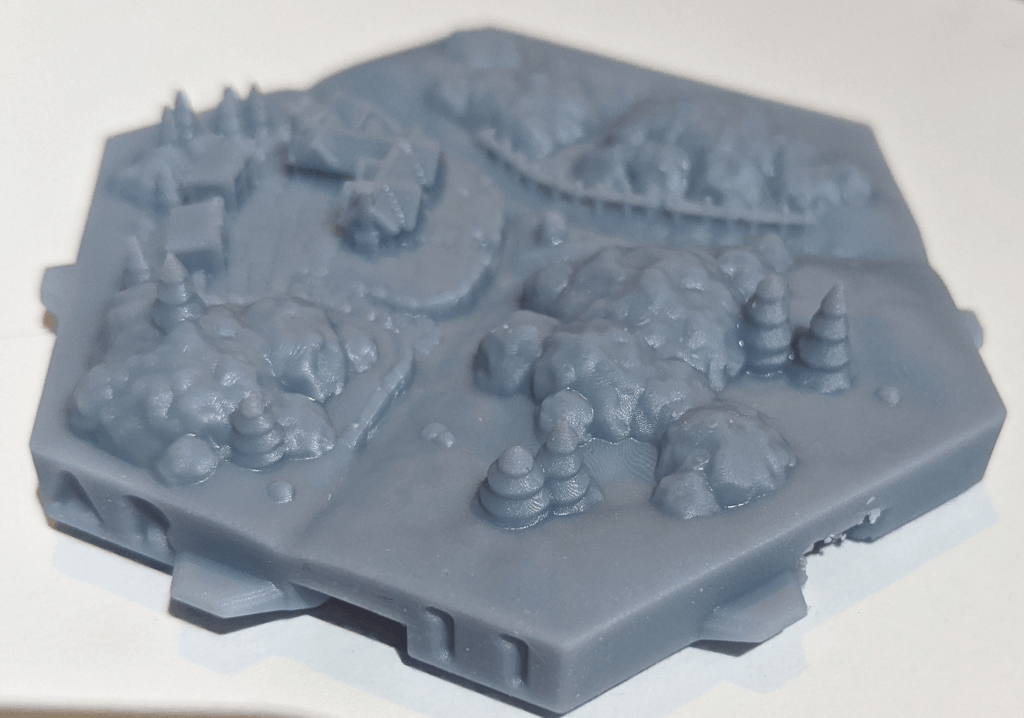
So now that we have talked about this printer for a bit lets show you some of the results we have gotten from it. Keep in mind it took us almost 2 weeks to figure everything out, most of our issues were with not having the print plate level and zeroed proper. Highly recommend you follow the ANYCUBIC guide on leveling your Photon resin printer. It is far more detailed now than when we initially bought one!


